Getting Started

Laser Cutting & Engraving

How to prepare your artwork for laser cutting and engraving.

Firstly, make sure that your project fits within the machine bed boundaries of 900 x 600mm or 1200 x 900mm. 

Set your document colour mode to RGB

Colour Lines 

Black – Cut

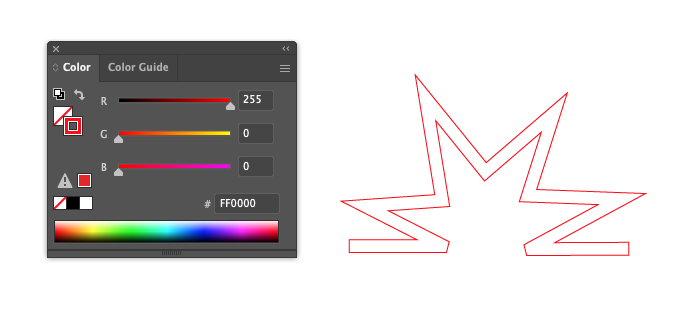
Red – Score – please advise what depth of score you require

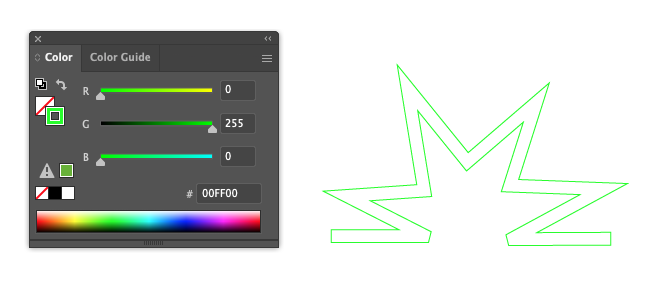
Green – Fill Engrave

We recommend that you leave at least 5mm around the outside of your project within the boundary lines.  Everything needs to be in millimetres (mm) and drawn to the exact scale you require.  

We prefer Adobe Illustrator files (.ai) but we also accept PDF. DXF or EPS.  

We can engrave the following files.bmp .jpeg, .tiff or .png files. Please note – we cannot cut using this type of file. 

Release all clipping masks and check that shapes and lines are not overlapping.  Remember the laser will follow every line.  If there is an overlap it will cut it.

Check that there are no duplicate strokes layered up on one another. If you don’t remove duplicate lines the laser will cut these lines twice – increasing the time and cost and probably adversely affecting the finish of your project.
The laser will cut along the vector line of your project to create a cut out shape. When cutting make sure that the shapes are at least the thickness of the material i.e. a rectangle cut from 3mm plywood should be no less then 3mm. This is to allow for the kerf of the laser that will remove material from both sides of the shape.

Nesting: If you are placing a lot of parts within one bed template make sure that there is a 2mm gap between each part. 

Small Parts: If you are cutting small parts draw them no smaller than the thickness of the material you are using.

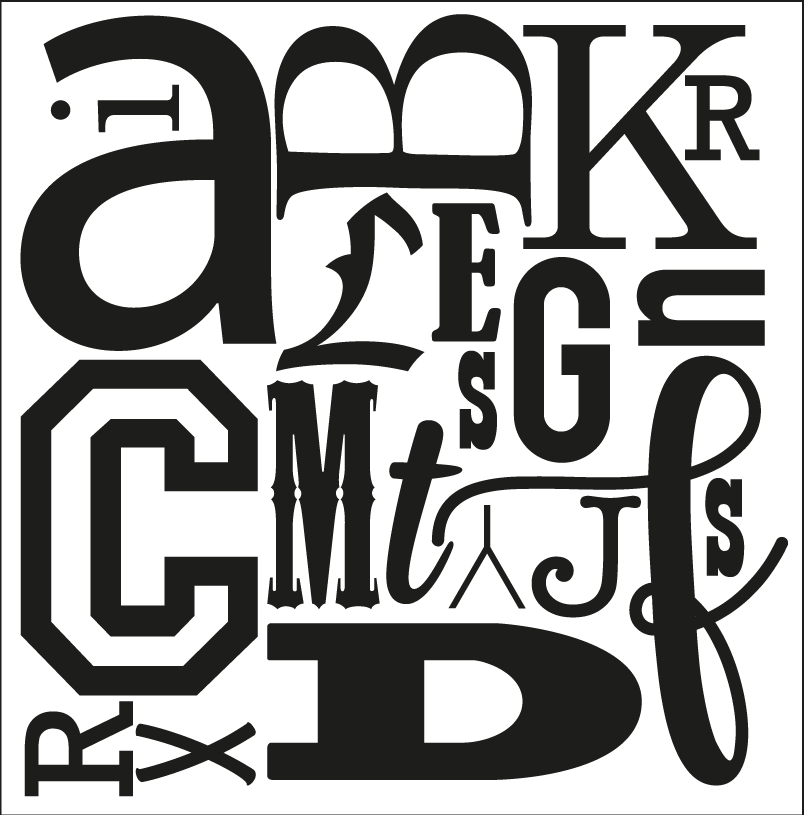
Nesting Letters
Nesting Letters Example

Vector line engraving works in a similar way to cutting, but instead of slicing right through the material, the laser just marks the surface. 

The laser will trace along the line at a reduced power to mark the surface or score into the material dependant on client instruction.  

Please advise when requesting a quote how what action the score line is being produced for.  For example, it can be from surface drawing of a street plan, or we can score a line for folding.   The thickness of the laser line does not alter with differing power. 

Scoring Example
Red Scoring Example

To fill (raster) engrave, the piece must be indicated using RGB Green.  If you require a thin engraving line, we recommend that you use vector line engraving not raster fill engraving. The strength of the raster engraving ranges from black as the heaviest, down to very pale grey, which is the lightest. To get the best results and to give your raster engraving a defined edge combine it with a vector engraving line around the outside edge of the piece.

Engrave Green

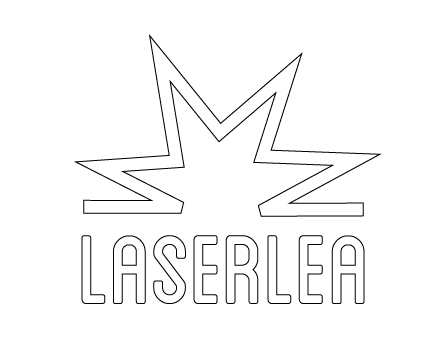
All text needs to be converted to an outline to be read by the laser software.  By doing this the laser will follow the line of the text in the same way as a drawn vector line. To convert text to an outline, firstly select your text.  Then click on Type > Create Outlines from the top menu.  You won’t be able to edit the text once you’ve done this, so do it last after you have spell checked.

Text Outline for Laser Cutting
Example of Laser Cut text

We prefer .ai files (Adobe Illustrator) but also accept PDF. DXF or EPS.  For image files we prefer .bmp files but they can also be sent to us in .jpeg, or .png files.

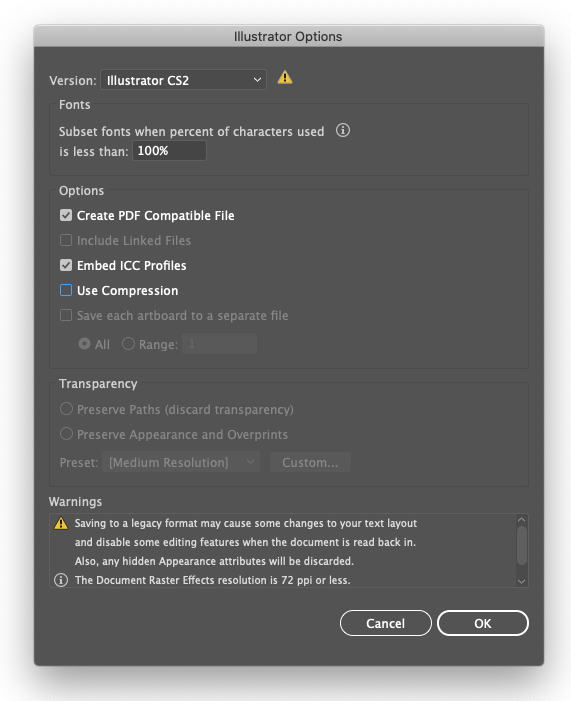
For saving in Adobe Illustrator:
Please note where the red circles highlight.  The documents must be saved as a CS2 file and the Use Compression option must be un-ticked.

Export Using Adobe Illustrator
Example of settings for Adobe Illustrator